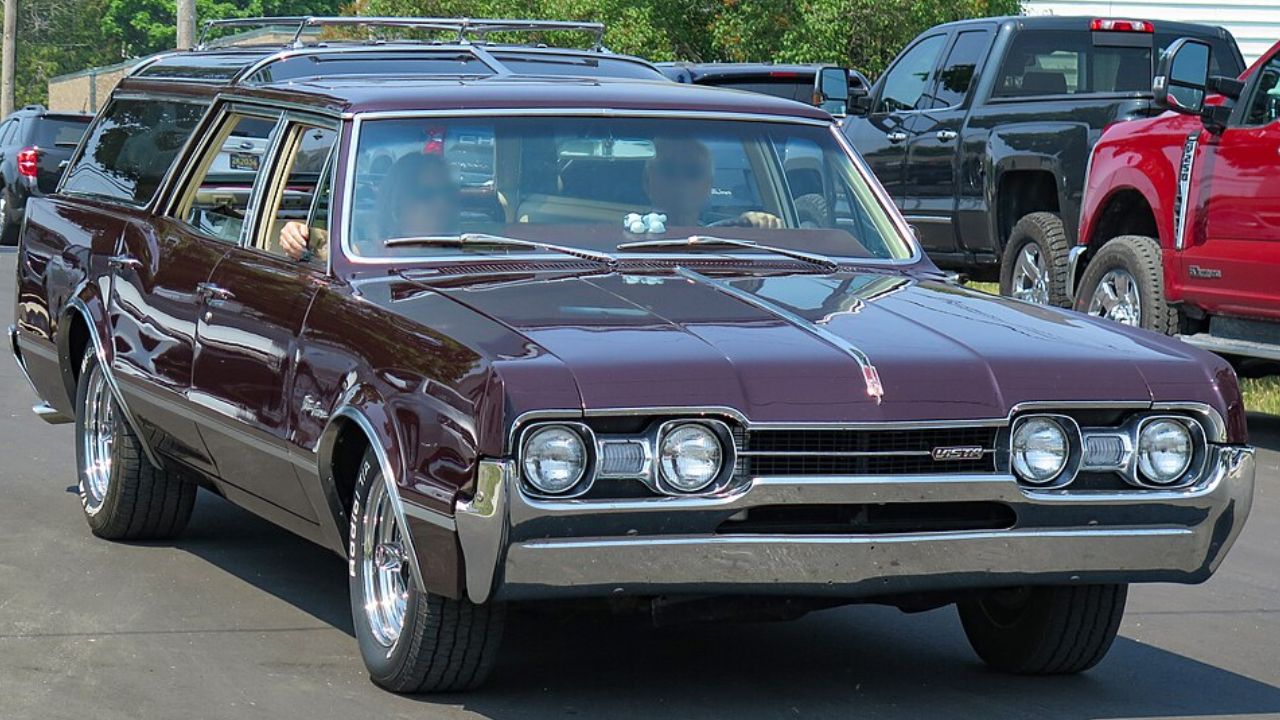
Restoring a 1967 Oldsmobile Vista Cruiser can feel pretty straightforward until you get into the greenhouse. That long roof, the split tailgate, and the extra roof glass are a big part of the car’s charm, but they also create more opportunities for leaks, scratches, delamination, and hard-to-source seals. A lot of projects that start as “paint and mechanicals” end up detouring into glass work simply because you can’t ignore water intrusion once you find it.
Why the Vista Cruiser’s glass is a different kind of challenge
The Vista Cruiser’s identity is tied to its elevated roofline and additional fixed glass panels, and that means more seals and more edge surfaces than a typical mid-size wagon. On a driver-quality car, you might live with minor wind noise, but restorations tend to uncover brittle gaskets, shrunken sealant, and pitting that becomes obvious once the car is repainted. If you’re aiming for a clean finish, old glass that looked “fine” before disassembly often doesn’t look fine against fresh paint and polished trim.
There’s also the simple reality that many of these cars sat for long stretches, and stationary cars tend to leak differently than regularly driven ones. Water finds its way into roof seams and around stationary seals, then sits and works on the pinch welds. By the time the interior is removed, you may discover staining at the headliner edges or rust blooms at the corners that point right back to the glass openings.
Common failure points restorers run into
Windshields and tailgates are familiar territory for most shops, but the Vista Cruiser adds more places where seal shrinkage or poor past repairs show up. The roof glass and its surrounding channels can collect debris, and even small drainage issues can become long-term moisture traps. If the car has ever had a quick reseal job, it’s not unusual to find hardened caulk, mismatched gasket material, or adhesive smeared where it shouldn’t be.
The tailgate area deserves extra attention because wagons live a harder life: repeated opening and closing, cargo impacts, and lots of exposure to weather. Split tailgate seals, window channel felt, and alignment all influence whether the back glass seats correctly and stays that way. When those parts are tired, you can chase rattles and leaks that seem “mystical” until you take the trim off and see what’s actually going on.
Rubber, sealants, and trim: where the time goes
Glass removal on older cars is often less about the glass itself and more about the rubber and trim that surround it. Stainless and aluminum moldings can be surprisingly easy to kink, and once they’re bent, they’ll never sit quite right without careful straightening. That’s why patient trim removal—using the right tools and resisting the urge to pry—is one of the best “glass work” investments you can make even before the glass comes out.
Seals are another big factor. Even when reproduction weatherstrips are available, fit can vary, and installers sometimes need to test-fit, adjust, and confirm how the trim locks in before final assembly. The original-style approach on many 1960s cars relied on specific gasket profiles and bedding compounds; if someone substitutes a modern adhesive in the wrong place, it can make future service harder and sometimes lead to stress points that encourage cracking.
Scratches, delamination, and the reality of vintage glass
Vintage side glass and fixed roof glass often show the kind of wear you don’t notice until the car is detailed: wiper arcs, haze, fine scratching from worn felt channels, and mineral etching from years of water spots. Those issues can be corrected only up to a point, and aggressive polishing can introduce distortion or uneven optics. For restorations that prioritize clarity, replacing glass may be the better route, but sourcing correct pieces can take time and careful verification.
Another issue restorers occasionally face is lamination problems on safety glass used in windshields, where age and moisture can lead to cloudy edges or “bubbling.” Once that starts, it generally doesn’t improve, and a fresh windshield can transform the car’s appearance as much as a paint job. The catch is that installing new glass against old seals or rusty pinch welds risks repeating the same problems, so it’s often a package deal: glass, seals, and metal repair together.
Planning the glass work so it doesn’t derail the restoration
The best way to avoid surprises is to treat the glass and seals as an early inspection item, not a final-assembly detail. Before paint, it’s worth mapping any leaks, checking for rust at the lower corners of openings, and inspecting the condition of channels and trim mounting points. If the car needs metal repair around the openings, you’ll want that handled before any new glass goes in, and ideally before final exterior finishing so you’re not risking fresh paint during rework.
It also helps to decide what “done” looks like. A period-correct driver might keep decent original glass and focus on watertight seals and quiet trim, while a higher-end restoration may justify replacing hazy panes so the entire cabin feels crisp. Either way, budgeting extra time for careful fitting and alignment usually pays off, because on a Vista Cruiser, the glass isn’t just functional—it’s a defining part of the car’s silhouette and the reason people notice it in the first place.