At first glance, a 1969 Camaro can present like a straightforward survivor: crisp body lines, shiny paint, and doors that shut with a reassuring thunk. But once you crouch down and really study the lower quarters—especially behind the rear wheels and along the rocker-to-quarter transition—these cars have a way of revealing what decades of moisture, road debris, and quick fixes have been hiding. It’s not that the design was flawed so much as the real-world conditions were harsh, and the construction methods of the era weren’t aimed at making a half-century-old car easy to restore.
Why the lower quarters are a natural trouble spot
The ’69 Camaro’s rear quarter panels sit in the firing line for everything the rear tires throw back: water, sand, salt, and small stones. The shape of the wheel opening and the way the quarter wraps around toward the rear valance creates ledges and seams where grime can linger. Over time, that packed debris holds moisture against the steel, and corrosion starts from the inside out.
Chevrolet also relied on common late-1960s practices—overlapping seams, spot weld flanges, and seam sealer that wasn’t intended to last for decades. Even cars that look “dry” in photos can have rust developing along the inner lip of the wheelhouse or at the lower rear of the quarter where panels join. If the car lived in a wet climate or saw winter roads, the odds go up dramatically.
What to look for beyond obvious bubbling paint
Most people know to scan for blisters in the paint, but lower-quarter problems often show up in subtler ways first. Sight down the body side for waviness near the bottom edge; it can indicate past filler work where metal was already compromised. Uneven reflections and a slightly “fat” looking lower quarter can be a sign that someone skim-coated over repairs rather than replacing steel.
Pay close attention to the wheel opening lip and the area just behind the tire. If the edge feels unusually thick, has a sharp ridge, or doesn’t match the opposite side, it may have been rebuilt with filler. A small magnet (used carefully to avoid scratching) can also hint at what’s metal and what isn’t, though it’s not foolproof if there’s heavy primer or multiple paint layers.
The hidden structure behind the quarter matters as much as the skin
On a first-generation Camaro, the outer quarter panel is only part of the story. Behind it are the outer wheelhouse, trunk drop-off areas, and various braces that tie the rear of the body together. If those inner pieces are rusted, replacing or patching only the exterior skin can become a short-lived cosmetic fix.
Trunk drop-offs are especially important because they sit low, collect debris, and can rust where they meet the quarter and the trunk floor. When those areas deteriorate, water can migrate and keep the lower quarter damp from the backside. A car can look excellent from the outside yet have weak, scaly metal in the structure that’s hard to detect without pulling trim, inspecting from inside the trunk, or using a lift.
Common “repairs” that should raise your eyebrows
It’s not unusual to find old-school patches on these cars, and some were done well. Others were more about passing a quick visual inspection: sheet metal screwed or riveted over rust, fiberglass mat layered in the wheel opening, or thick undercoating sprayed to hide pitting. Undercoating isn’t automatically bad, but fresh, tar-like material applied only in select areas can be a clue that someone was masking trouble.
Another giveaway is mismatched seam sealer or oddly textured paint along the lower quarter and rocker seam. If the seam looks overly smooth and rounded compared to factory-like crispness, it may have been reshaped with filler. Also watch for replacement quarter panels that don’t align cleanly at the door gap or the rear valance; fitting these panels takes skill, and hurried work can leave tells.
How to inspect a 1969 Camaro’s lower quarters without tearing it apart
Start with a clean car if possible. With dirt washed away, you can better spot bubbling, cracking at the bottom edge, or suspiciously uniform texture that suggests heavy surfacing. Then inspect inside the trunk: pull back the mat, check the corners, and look at the extensions along the sides where the trunk floor meets the body—areas that can hint at the same moisture paths that attack the quarters.
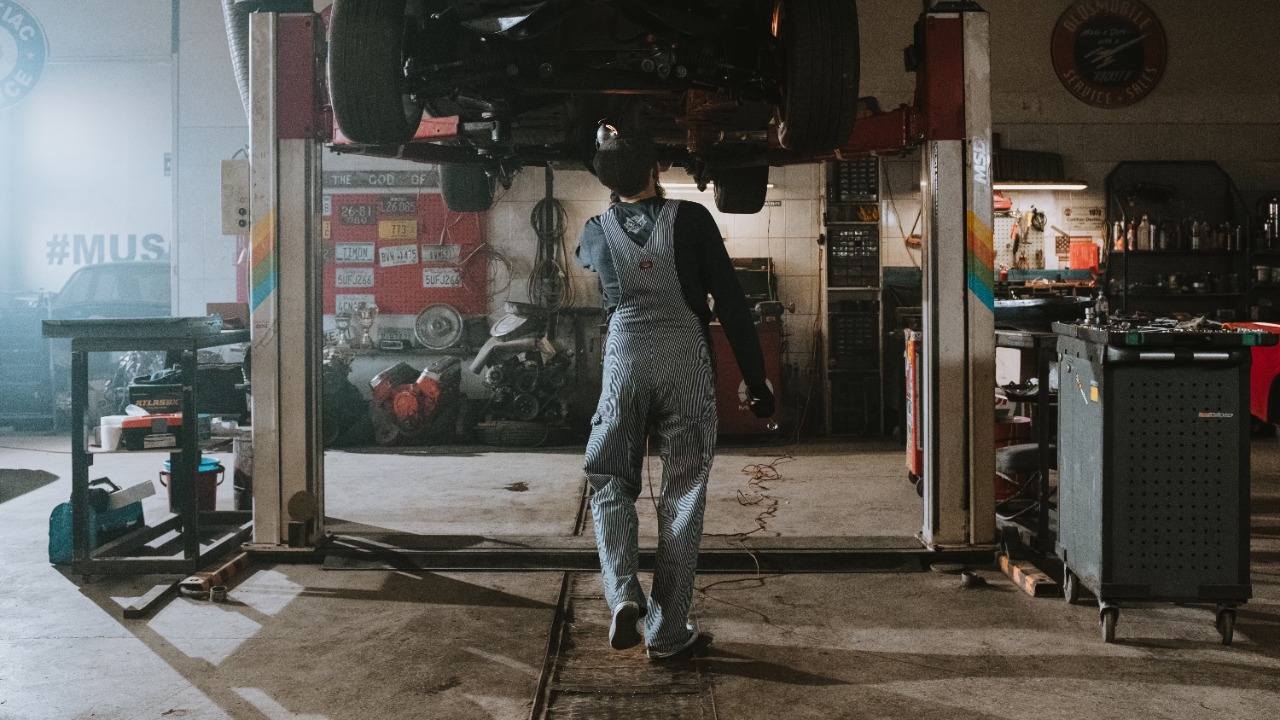
If you can get the car safely on a lift, look up at the backside of the quarter area and the wheelhouse. You’re looking for flaking metal, swelling seams, or patchwork that doesn’t match factory spot-weld patterns. A bright flashlight and a small inspection mirror help a lot, and a careful tap with a plastic handle can reveal thin metal without gouging anything.
Why it matters for value, drivability, and restoration planning
Lower-quarter rust isn’t just a cosmetic issue on a ’69 Camaro; it can be the visible tip of a much larger metalwork project. Once corrosion gets into adjoining structures, the time and cost to do the job correctly rises quickly, especially if you’re aiming for clean panel gaps and durable protection rather than a temporary cover-up. Even if you’re not chasing concours correctness, solid underlying structure affects how well doors align, how the rear of the body feels over bumps, and how long fresh paint will last.
The upside is that these cars are widely supported in the restoration world, and quality repair is very achievable when the scope is understood from the start. A careful inspection of the lower quarters—and the structures behind them—helps you buy smarter, plan a restoration realistically, and avoid the disappointment of discovering major corrosion only after the car is already in your garage.