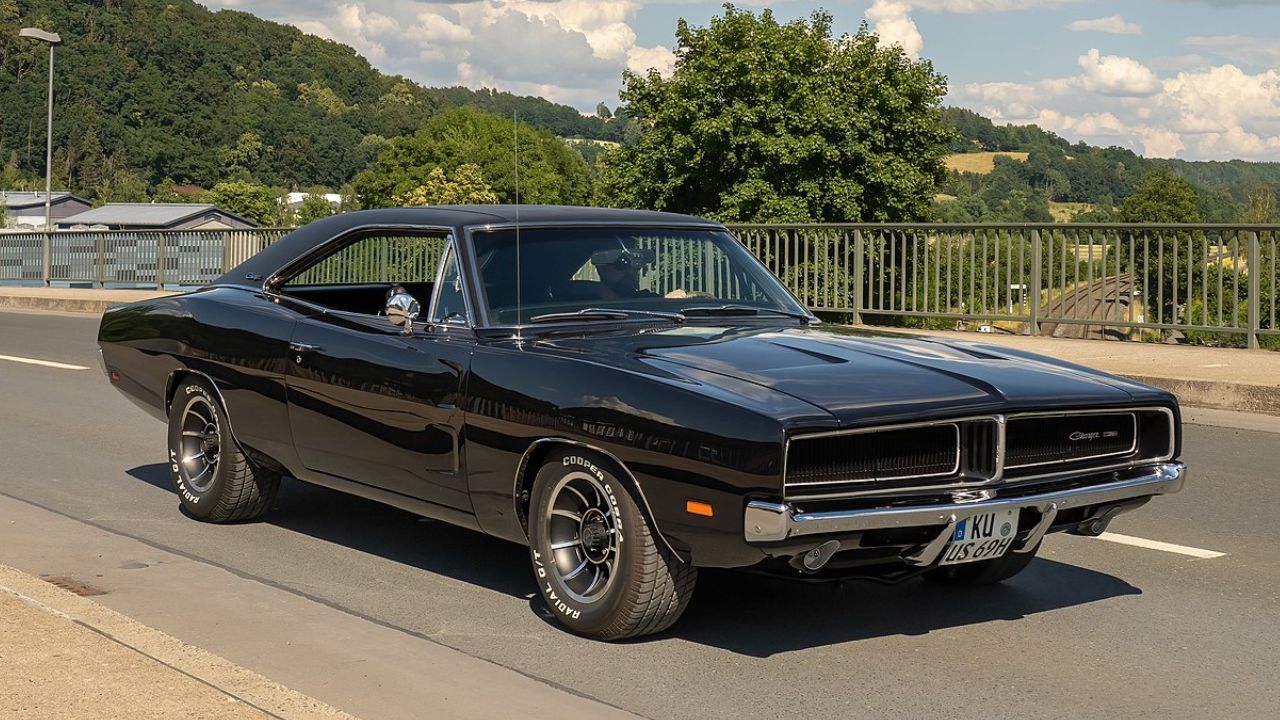
Pulling apart a 1969 Dodge Charger is a little like reading a diary that’s been rewritten a few times. These cars have lived hard lives—street racing, daily-driver duty, decades of weather, and more than a few “good enough” fixes done when parts were cheap and standards were different. When you finally strip paint, remove undercoating, and chase down old welds, it’s common to find evidence of previous repairs that weren’t obvious from the outside.
How old collision damage hides under paint and filler
The Charger’s long flanks and broad quarters make it easy for bodywork to disappear under glossy paint. A car can look straight at a glance while still wearing thick filler in the quarters, a repaired door edge, or a reworked tail panel from a light rear hit. Once you start sanding or media-blasting, waves and pinholes show up, along with feathered edges that reveal where earlier repairs ended.
Another giveaway is misaligned character lines—especially around the rear quarters and the recessed areas near the taillight panel. Chargers have big, visually “flat” surfaces that punish imperfect metal finishing, so past shops often leaned on filler rather than spending hours with a hammer and dolly. That approach was common when the priority was getting the car back on the road, not building a concours-level restoration decades later.
Rust repair that was acceptable then, but questionable now
Rust is the other major reason hidden work turns up. Chargers can rust in the usual Mopar spots—lower quarters, trunk floor, rear window channel, cowl areas, and floor pans—so earlier owners often patched what they could see and ignored what they couldn’t. Under carpeting, seam sealer, or thick undercoating, you might find small lap patches, riveted pieces, or brazed repairs that were once considered practical.
Even “solid” cars sometimes reveal patch panels that were simply laid over thin metal rather than cutting back to clean steel. When restorers remove old seam sealer or strip the underside, they may uncover pinholes around the edges of patches or moisture trapped between layers. Those discoveries don’t necessarily mean the car was treated poorly—just that rust repair practices and expectations have changed a lot since the 1970s and 1980s.
Structural areas that get repaired without leaving obvious clues
Some of the most important Charger repairs are the least visible until the car is disassembled. The front frame rails, torsion bar crossmember area, and rear leaf spring mounting points can take a beating from potholes, curb strikes, corrosion, or past accidents. A Charger can drive “okay” with subtle structural issues, so an older repair might have focused on getting alignment within spec rather than restoring the factory look of spot welds and seams.
When you pull the K-member, suspension, and drivetrain, you can finally inspect areas that were previously hidden by grime and undercoating. That’s where you might find non-factory weld beads, plate reinforcements, or replaced sections that don’t match original stampings. Restorers also often notice differences in spot-weld patterns, seam locations, and metal thickness—clues that a section has been replaced at some point.
Evidence of era-specific modifications and “street fixes”
Because these cars were popular performance machines, many were modified when they were just used cars. It’s not unusual to find old traction bar mounts, extra holes for aftermarket gauges, relocated wiring, or patches where a previous owner cut for speakers or a different shifter. Those changes can be hard to spot until the interior is out and you’re staring at bare floors, firewall, and dash structure.
Engine bay modifications are another frequent surprise. Past owners sometimes enlarged holes for wiring, relocated voltage regulators or ignition components, or added improvised brackets. When a restoration aims to return the car to a more original configuration, those “little” changes turn into real metalwork—welding shut holes, reconstructing edges, and carefully reworking surfaces so the repairs don’t telegraph through fresh paint.
Why replacement panels and trim swaps can point to earlier damage
Chargers have a lot of unique trim, and panel fit depends on more than just the sheetmetal. If you find mismatched fasteners, extra mounting holes, or spacers that don’t look factory, it can indicate earlier attempts to make parts line up after a hit or after replacing a section with something that wasn’t quite right. Even when a car wears correct-looking pieces today, the mounting points underneath may tell a different story.
It’s also common to discover a mix of parts from different years within the same generation because owners sourced what was available in salvage yards. That can leave behind telltale signs like modified brackets, slotted holes, or handmade shims. During restoration, removing trim and test-fitting panels early helps reveal whether you’re dealing with normal factory variation or the results of an older repair that shifted things slightly out of place.
Restoration steps that uncover the truth (and why that’s a good thing)
The biggest revelations usually happen during stripping and disassembly: removing vinyl tops, pulling glass, taking out the interior, and stripping undercoating. Those steps expose seams, rust in channels, and prior weld work that paint and upholstery hide. Careful measurement—checking diagonals, comparing reference points, and test-fitting major panels—helps confirm whether the shell is straight before expensive finishing begins.
Finding old repairs can feel discouraging, but it’s often a sign the car has a real history rather than a perfect, untouched past. The upside is that modern replacement panels, better rust protection, and more precise metalworking tools let you correct problems in a way earlier owners couldn’t justify or afford. Done carefully, the restoration ends up stronger, straighter, and more durable—while still preserving the character that made the 1969 Charger worth saving in the first place.