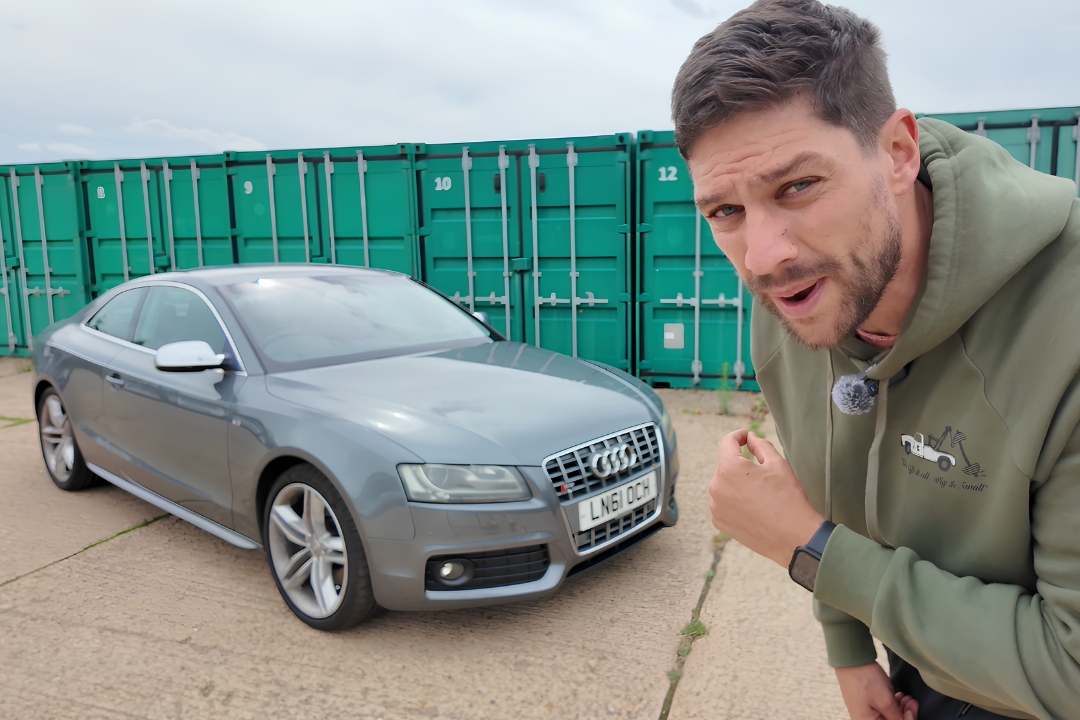
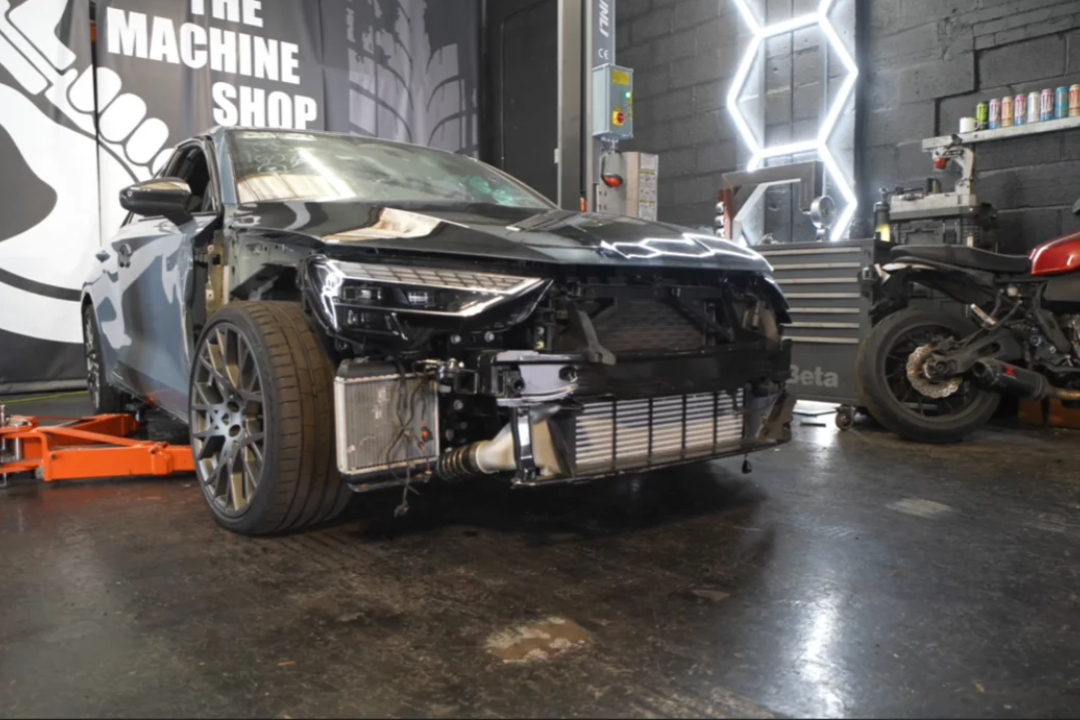
A crashed Audi RS3 doesn’t usually get saved over a single door seal. But that’s exactly the problem Dean at Saving Salvage handed off to metalworker Bob: every mechanical part on the car had already been sorted, new brakes, new wishbones, the works, except for one section of bodywork too damaged to simply bolt back together. The fix meant sourcing an entire matching quarter panel from a donor car, cutting the good section free, and welding it into place on a car worth roughly £70,000 when new.
Bob’s approach to a job like this starts less with a blueprint and more with a general sense of where things are headed. “I never really have a plan,” he admits early on. “I just throw myself in the deep end and figure the rest out.” That’s not false modesty. The entire repair unfolds as a series of measurements, test fits, and small course corrections, the kind of process that looks chaotic in the moment and only makes sense once the panel is finally welded in place.
Finding a shared reference point
Getting the door off the damaged car came first, complicated by a bolt so caked in old paint that a socket wouldn’t grip it. Heat solved that problem quickly, burning away enough paint to finally get purchase on the fastener. With the door removed and the interior masked off to keep dust and grinding debris away from the cabin, the real puzzle could begin: figuring out exactly where the undamaged donor panel needed to be cut to match the damaged car precisely.
Bob’s solution relied on the car’s hinges as a fixed reference point, since they’re riveted in place and guaranteed to sit in identical positions on both the donor panel and the damaged chassis. Measuring out from that shared point let him mark exactly where the damage stopped and, by extension, exactly where the new panel needed to begin. Rather than cutting along a structurally complicated line, he deliberately chose a flatter section of metal to make welding easier later, reasoning that a joint sandwiched between multiple layers of metal and old paint would only cause problems down the road. Angle iron helped transfer those measurements precisely from the donor part onto the car itself before any cutting began.
More cleaning than cutting
Once the damaged section came out, the job revealed some good news: the actual crash damage was limited to the outer skin, meaning there was no need to cut into the car’s structural frame underneath. That was a real relief, since removing structural sections would have meant a far more involved repair. What remained was mostly preparation work, stripping away the waxy underseal coating both the donor panel and the chassis, a substance that needed to be completely removed before welding could safely happen, since it posed a fire risk otherwise.
A gap, a shelf, and a lot of small corrections
Not every cut landed perfectly on the first try. An 8-millimeter gap turned up at one point from an early measuring error, and a section of the new panel ended up slightly short after being trimmed too aggressively. Rather than starting over, Bob welded small steel shims behind the original body panel to act as a supporting ledge, letting the new panel sit properly on top even with the shorter cut. A separate section of sill, bent during transport when the car was strapped down for shipping, needed straightening before the new panel could be fitted over it cleanly.
The actual welding process leaned heavily on incremental tack welds rather than long continuous seams, a deliberate choice to control how the metal moved as it heated and cooled. Each tack subtly warped the surrounding area, so Bob worked his way along the seam adjusting alignment tack by tack, pushing panel sections in or levering them out as needed to keep everything flush. A separate seam, bent but not torn during the original crash, could simply be pulled back into shape rather than replaced entirely.
The unavoidable side effect of welding steel
Even with careful technique, welded steel panels don’t come out perfectly flat, something Bob was upfront about rather than trying to hide. Heat expansion and contraction during welding reliably produces a slight low spot on one side of any seam, since one side of the joint expands while the other contracts as it cools. A high spot can be hammered back down afterward, but a low spot generally can’t be corrected without access to the back of the panel, which in this case was already sealed shut. The realistic solution, and the one professional bodywork shops use routinely, is a thin skim of filler rather than chasing an impossible zero-filler result. In this case, that amounted to roughly two-tenths of a millimeter, thin enough that Bob could only detect it by feel with a fingernail, hidden entirely behind the car’s trim once reassembled.
What started as a repair Bob expected might require cutting into the car’s actual structural frame ended up being confined entirely to the outer skin, a genuinely lucky break that made the whole job faster and simpler than anticipated. The panel is welded, straightened, filled, and ready for paint, evidence that even a car written off as needing scrapyard-sourced surgery can come back looking, and structurally being, like nothing ever happened.
More from Fast Lane Only
- Unboxing the WWII Jeep in a Crate
- 15 rare Chevys collectors are quietly buying
- 10 underrated V8s still worth hunting down
- Police notice this before you even roll window down
*Research for this article included AI assistance, with all final content reviewed by human editors.