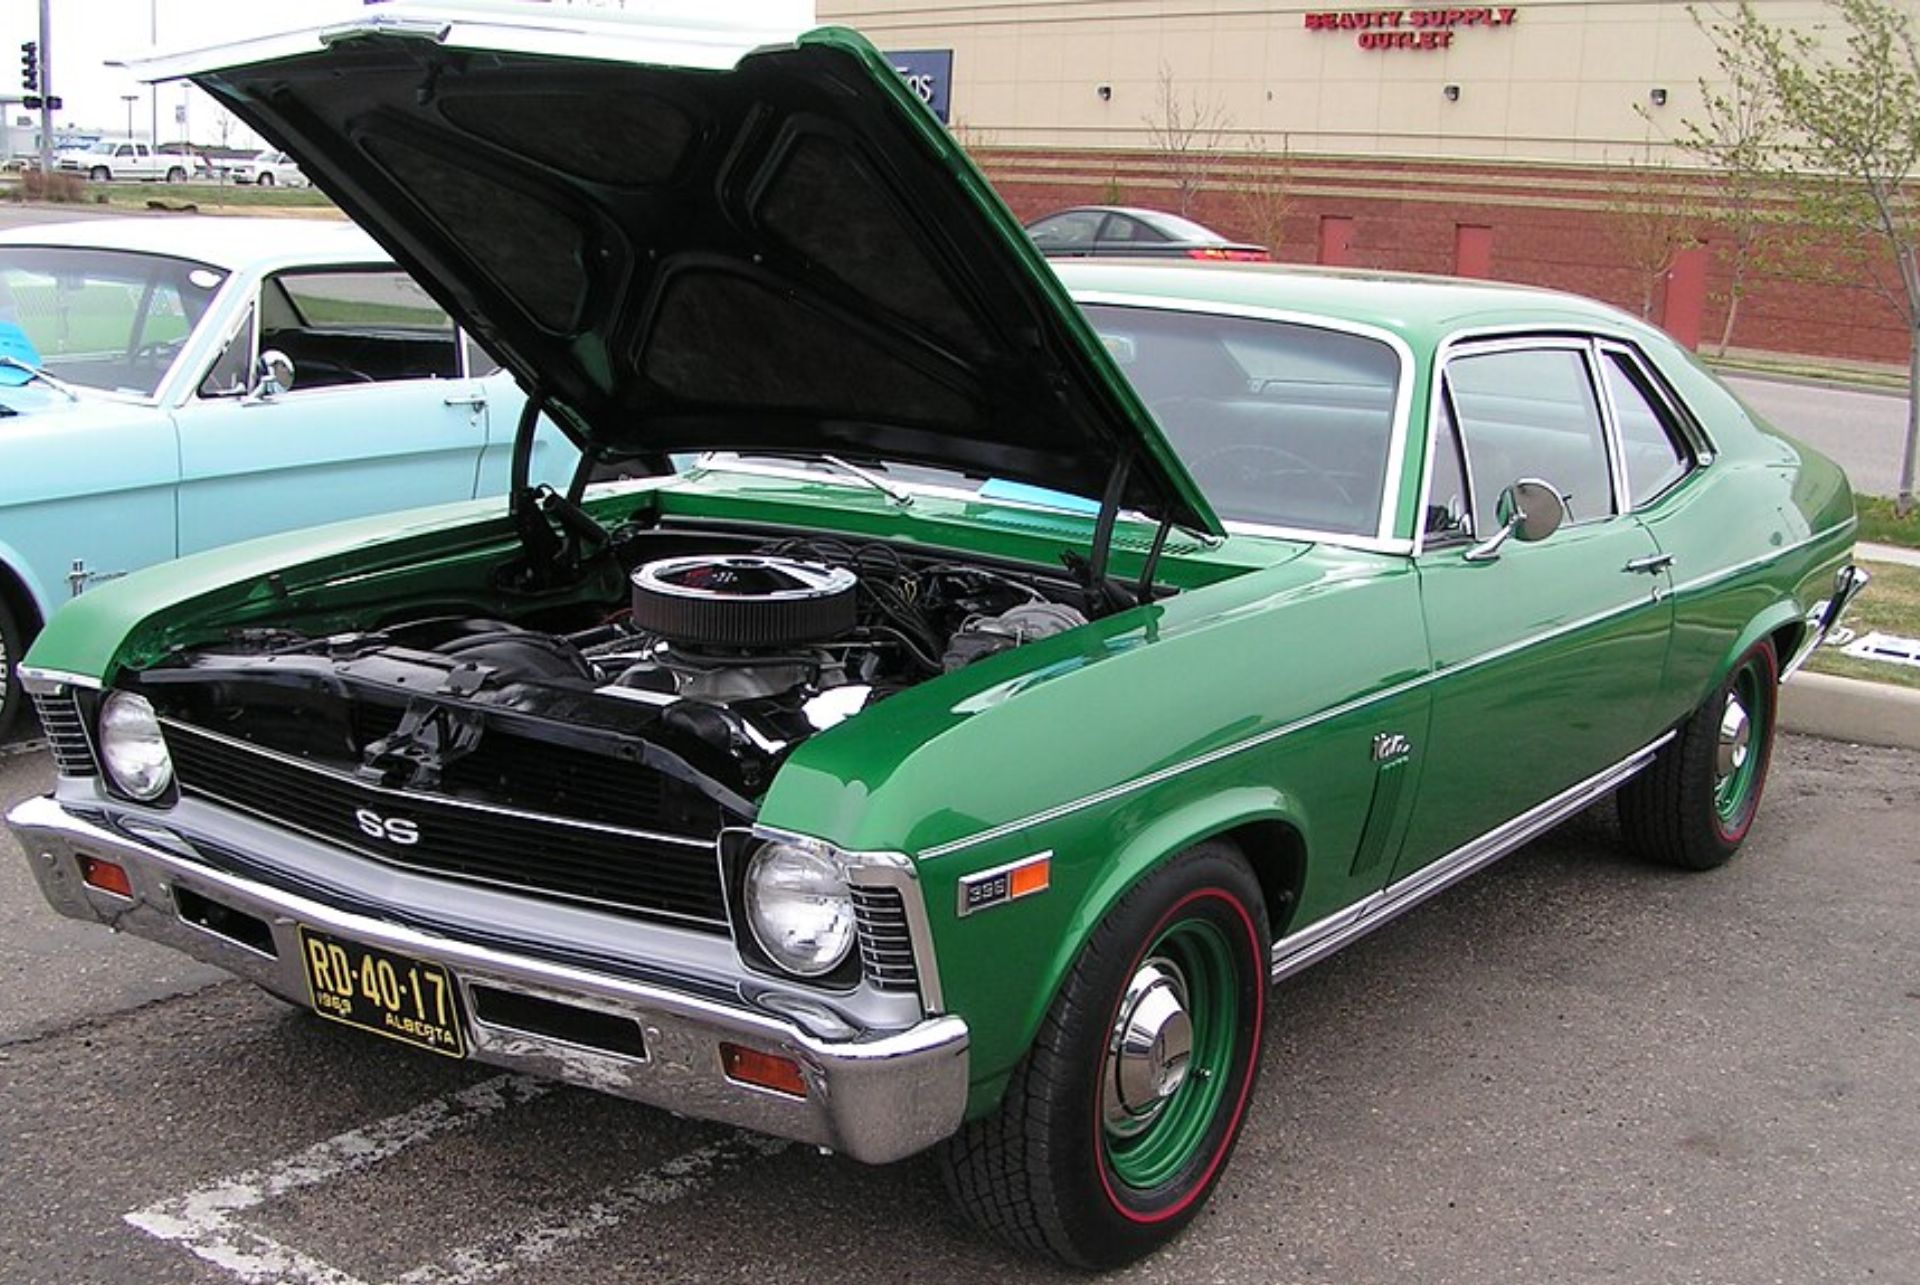
A 1969 Chevrolet Nova SS can look like a straightforward project from the outside: paint, drivetrain, maybe some trim. Then you pull the seats, peel back the carpet, and suddenly the “interior refresh” turns into a much bigger conversation about rust, wiring, correctness, and comfort. The Nova’s compact size and simple construction are part of its charm, but they also make it easy to discover what decades of use—and a few previous owners—have been hiding.
Why the cabin teardown exposes the real condition
On an X-body Nova, interior removal is often the first time you can closely inspect the floorpans, seat mounts, and rocker areas from the inside. Moisture trapped under old carpet and jute padding can quietly attack metal, especially around front footwells and the rear seat pan where leaks tend to collect. Even when the exterior looks solid, surface rust can turn into pinholes once you start poking at seams and body plugs.
It’s also common to find evidence of past repairs that never show up in photos: patch panels pop-riveted in place, seam sealer smeared over thin steel, or undercoating used as camouflage. None of this is unique to Novas, but their age and the fact that many lived as everyday transportation means plenty got “fixed” cheaply to keep them on the road. Once the interior is out, it’s hard to unsee those shortcuts.
Small parts snowball: trim, hardware, and SS-specific details
Interior work has a way of multiplying because every removed part leads to three more questions. You take off a scuffed door panel and notice the window felts are hard as plastic, the handles are pitted, and the regulators feel gritty. Then you realize the armrest bases are cracked, the clips are missing, and the moisture barriers are long gone, which matters because those barriers help protect the new panels from water intrusion.
For an SS-badged Nova, owners often care about period-correct appearance and factory-style fit, which makes the hunt for correct knobs, dash bezels, seat patterns, and steering wheel pieces more involved. Even when reproduction parts are available, matching texture, sheen, and grain can be trickier than expected. The project grows not because any one part is impossible, but because doing it “right” means paying attention to a lot of small, visible details.
Wiring, gauges, and the “while I’m in here” effect
Once the dash and front interior are apart, wiring becomes hard to ignore. Many classic cars have accumulated decades of add-ons: under-dash stereos, alarm systems, extra gauges, electric fans, and improvised splices. It’s historically common to find Scotch-lock connectors, twisted-and-taped joints, and non-fused power feeds that worked fine—until the car sat for years or the next owner changed something.
Interior restoration also invites upgrades that feel sensible at the time: a modern fuse panel, cleaner routing, repaired grounds, and new lighting. Even if you keep the stock cluster, refurbishing switches and ensuring the heater controls, wiper motor, and dash illumination behave like they should can take real time. The Nova’s straightforward layout helps, but sorting old electrical decisions is rarely a one-afternoon job.
Weather leaks and glass seals: the hidden cause of floor rust
A lot of interior deterioration starts with water getting in, and 1960s coupes have several usual suspects. Aged door weatherstrips, tired window fuzzies, and dried-out trunk seals can let rain and wash water find its way into low spots. Windshield and back glass sealing can also be a factor on cars that have been repainted or had glass removed and reinstalled without careful attention to the sealing process.
Once you’ve committed to new carpet and restored panels, it’s tough to justify leaving possible leak points unaddressed. That often means replacing weatherstripping, adjusting window alignment, and checking door drain paths. None of this is glamorous, but it’s the difference between an interior that stays fresh and one that smells musty again after the first wet season.
Comfort vs. originality: seats, sound deadening, and drivability
Many Nova SS projects evolve because the owner realizes how they actually want to use the car. If it’s going to see highway miles, fresh seat foam, better seat support, and added insulation can make the car feel dramatically more refined without changing its character. Sound deadening under the carpet and behind door panels wasn’t a big focus in 1969 the way it is today, so even modest additions can reduce exhaust drone and road noise.
That said, the more comfort-oriented the plan becomes, the more decisions follow. Do you keep factory-style materials or choose something more durable? Do you repair original seat frames or swap to different seats that require fabrication? Interior choices can start as cosmetic and quickly become structural and functional, especially if you’re building a car that needs to be enjoyable for more than a quick cruise night loop.
Budget and timeline realities: interiors aren’t “just upholstery”
It’s easy to underestimate interiors because the work looks clean and finished when it’s done. But the path there can involve metal repair, seam sealing, paint, hardware replating, and careful fitment—plus the cost of quality upholstery materials. Many enthusiasts discover that doing the cabin properly requires the same level of planning as an engine build: parts selection, specialist help where needed, and patience during test-fitting.
The good news is that interior work is also one of the most satisfying stages of a 1969 Nova SS project. Once the leaks are handled, the floors are solid, and the dash and panels are back together, the car starts to feel like a cohesive machine instead of a collection of parts. That’s often when a project “grows”—not because it’s out of control, but because the owner can finally see what the car deserves.